Migrating Letta agents without cloning Postgres: the .af workflow
Every Letta deployment eventually needs migration. You might be moving to a new server, cloning to a staging environment, consolidating multiple Letta instances, or simply needing to export a single agent for safekeeping. The naive approach is cloning the entire Postgres database — but that's heavy, risky, and often unnecessary. There's a better way: the .af (archival file) workflow.
Why Not Clone Postgres?
Database cloning sounds straightforward in theory. Dump one database, restore it to another. Here's why that approach causes problems in practice:
Size. Letta stores conversation history, documents, and agent memory. A production database with dozens of agents can grow to tens of gigabytes. Cloning takes hours and consumes enormous disk space, both on the source and during transfer.
Lock-in. When you clone the database, you get everything — every conversation, every checkpoint, every document, every artifact. That's often far more than you need for a simple staging copy or agent migration.
Version risk. Moving a database between Letta versions can cause schema mismatches. The dump might restore to an incompatible state, particularly if you're moving between major versions.
Agent-specific needs. Sometimes you just need one agent. Cloning the entire database for a single agent seems excessive — it's like copying an entire library to borrow one book.
No selective control. Database cloning is all-or-nothing. There's no way to include only certain agents, exclude conversation history, or include memory without conversations.
That's where the .af workflow comes in. It's designed specifically for Letta agent migration.
What Is the .af Format?
The .af format is our archival file — a self-contained package representing one or more Letta agents. It's designed for migration, backup, agent distribution, and environment cloning. Think of it as a portable agent container.
An .af file contains everything needed to recreate an agent in a compatible Letta deployment:
- Agent definition: The agent's prompt, tools, configuration, and behavioral instructions
- Memory snapshots: Archived memory at the time of export — the agent's knowledge base
- Documents: Any documents attached to the agent
- Metadata: Version info, creation timestamps, export information
Here's what an .af file looks like structurally:
 my-agent.af/
 ├── agent.json          # Agent definition and configuration
 ├── memory.json        # Memory snapshot at export time
 ├── documents/         # Attached documents directory
 │   ├── spec.md        # A markdown specification
 │   └── context.txt    # Context text files
 └── metadata.json     # Export metadata (Letta version, timestamps)
Each section is human-readable JSON or plain text. That's intentional — you can inspect exactly what you're migrating before importing. No black-box database analysis required.
Why Archived HTTP Matters
Letta provides a comprehensive HTTP API. That's the surface area for .af migration. The archival workflow uses four primary endpoints:
List agents:
GET /agentsReturns all agents with basic metadata — name, ID, creation date, tool count.
Get agent details:
GET /agents/{agent_id}Returns the complete agent definition, including system prompt, tools, and configuration.
Get agent memory:
GET /agents/{agent_id}/memoryReturns the memory snapshot at export time — the agent's archived knowledge.
Import agent:
POST /agents/importAccepts an .af payload and creates the agent in the target deployment.
The key is that these endpoints work without direct database access. You're accessing Letta the same way any client would — over HTTP. That means the workflow works regardless of your database architecture, version, or hosting setup.
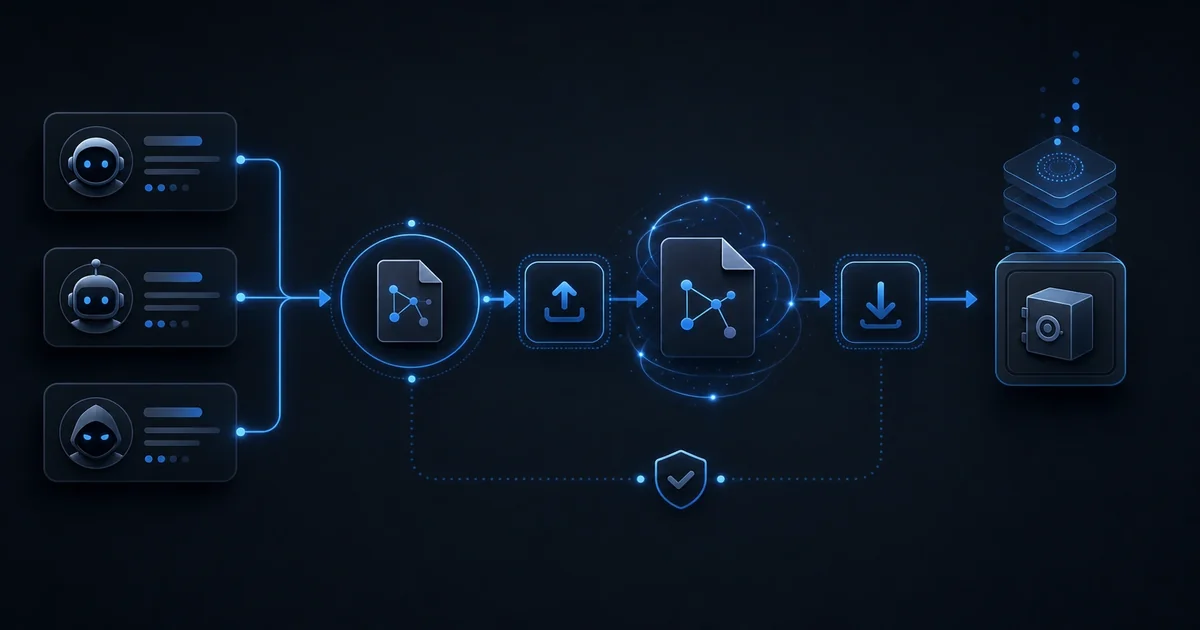
The Migration Workflow
Here's how migration works in practice, step by step:
Step One: Export
Export the agent from the source Letta using the API:
 # First, get the agent list to find your agent ID
 curl -s http://letta-source.internal/agents | jq

# Export the agent definition
 AGENT_ID="agent-abc123"
 curl -s http://letta-source.internal/agents/$AGENT_ID > agent.json

# Export the memory snapshot
 curl -s http://letta-source.internal/agents/$AGENT_ID/memory > memory.json

# Create documents directory and download any attached documents
 mkdir -p documents
 curl -s http://letta-source.internal/agents/$AGENT_ID/documents \
 | jq -r '.[].title' > documents/list.txt
 # (Additional downloads for each document)

# Package everything as an .af file
 tar -czf my-agent.af agent.json memory.json documents/
That's the agent exported as an .af file. The entire operation takes seconds, not hours.
Step Two: Transform (Optional)
Sometimes you need to transform the agent before importing. Maybe you're changing the Letta version, or the target environment has different tools available. Perhaps you want to rename the agent for its new context.
Transform happens by editing the agent JSON directly:
 # Rename the agent for the new environment
 jq '.name = "my-agent-staging"' agent.json > agent-staging.json
 mv agent-staging.json agent.json

# Remove sensitive configuration
 jq '.env = {}' agent.json > agent-clean.json
 mv agent-clean.json agent.json
The .af format is just JSON and files. You can manipulate it with standard text tools.
Step Three: Import
Import to the target Letta using the API:
 # Extract the .af file
 tar -xzf my-agent.af

# Import via the Letta API
 curl -X POST http://letta-target.internal/agents/import \
 -H "Content-Type: application/json" \
 -d @agent.json
The agent appears in the target Letta, including its memory. You're done.
Using Broca
Broca is our CLI companion for Letta operations. It simplifies the entire .af workflow from multiple manual steps to single commands:
 # Export an agent using Broca
 broca export agent-abc123 --output my-agent.af

# Import an agent using Broca
 broca import my-agent.af --target http://letta-target.internal
That's dramatically simpler than the raw API workflow. Broca handles the extraction, packaging, document downloading, and import steps automatically. It also includes validation — it checks for compatibility before attempting import.
Broca is available for teams running our Letta distribution. It's included as standard tooling, just like Letta itself.
What Migration Gets You
The .af migration approach provides several advantages over database cloning:
Selective migration. Clone only the agents you need — no database-wide operation. If you need one agent from a deployment of fifty, export just that one.
Version-independent export. The .af format doesn't commit to a Letta version. You can export from one version and import into compatible targets without version matching.
Human-readable inspection. Inspect before import. That's impossible with database cloning — you'd need database tooling to examine what's inside a dump.
Fast operation. No database cloning operation means minutes instead of hours. The .af file is typically megabytes, not gigabytes.
Selective memory. Import with or without memory. Sometimes you want a clean agent without historical memory — the .af workflow supports that choice.
Selective conversation. The .af workflow doesn't include conversation history. That's sometimes exactly what you want for a staging copy.
What Migration Doesn't Get You
The .af approach isn't perfect for every situation:
No conversation history. Export captures memory, not conversation transcripts. If you need that history, database cloning is required.
No tool definitions. Tools travel with the agent definition, but the actual tool implementations live in your Letta deployment. Compatible tools must exist in the target.
No user permissions. The .af format doesn't encode Letta's permission model. You'll need to recreate user access at the target.
No organization settings. Global Letta settings don't travel with agents. Those need separate configuration.
When to Use Which Approach
Choose .af migration when:
- Migrating specific agents between environments
- Creating staging copies from production
- Backing up individual agents
- Distributing agents between Letta instances
- Moving agents between Letta versions
- You need human-readable export
Choose database cloning when:
- Migrating everything comprehensively (all agents, all conversations, all data)
- You'd need conversation history in the target environment
- There's no API access to the source Letta deployment
- You're consolidating entire deployments
The .af approach is flexible and targeted. Database cloning is comprehensive but heavy. Choose appropriately.
The Broader Toolchain
The .af workflow is part of our operational suite for Letta deployments:
- Broca: CLI for Letta operations including .af import/export
- Athena: Our agent deployment and management platform
- .af files: The agent distribution format we built
These tools work together. Broca creates .af files, Athena manages deployment, and Letta runs the agents. The .af format is the connective tissue enabling portability across the entire stack.
Close
Database cloning seems like the obvious solution until you try it in production. The .af approach is lighter, safer, more selective, and faster.
If you're migrating Letta agents, start with .af. If you need conversation history, fall back to database cloning. Otherwise, archive and import — it's the right tool for most migration scenarios.
Broca simplifies the workflow. It's available for teams running our Letta distribution. Reach out if you'd like access or have questions about migration strategy.
The .af format is open. We'd welcome collaborators extending it — adding support for additional Letta fields, improving validation, or building integrations. That's the open-source philosophy: build tools others can use, and let the community improve them.
If you are weighing build-vs-buy on infrastructure like this—and the real question is what to commit to next—describe the decision you are facing. We scope around outcomes, not open-ended tours.